
Allen & Heath Model 3 (Mod III) – 1979 Vintage Mixing Console Restoration
Finally, after all these years of waiting I got my hands on a 16 track studio mixer. I was looking at a Zed16 FX to replace my dilapidated Soundcraft Folio SX. However, this vintage mixing console caught my eye as one of the early examples from a company called Allen & Heath. This MOD 3 was one of their earlier forays in to the world of recording mixers.
If you are in the music scene, especially the ‘techie’ side you will undoubtedly have heard of Allen & Heath, a brand with many years of pedigree. To find an early example like this it ticked all the boxes, especially as it was going dirt cheap and needed ‘attention to get fully working’.
My folio SX is giving up the ghost slowly and is annoying to work with. Not only that, I hated it as soon as I got it because it sounded sterile. I was only using it as a summing mixer for synths, so it did the job but various faults appeared on it over the years. Harman bought up the soundcraft brand many moons ago, and as a result I had horrendous difficulty trying to get spare parts at the time.
I was given the brush off when I asked for servicing help on the phone and I was shocked at their contemptuous attitude. For this reason I would never recommend to buy anything made by Harman, and when hunting for a console, I intentionally overlooked the soundcraft brand, even though they had a great reputation for their earlier gear, which sadly seems to have been tarnished by Harman’s acquisition.
Whilst I had been looking for a mixing console restoration project for ages, I never seemed to find the right one to replace my folio. I have been half heartedly searching but never being convinced enough to part with my cash. This one, however, was calling out to me. Having seen it on an auction site I tried to find schematics as I knew this one would be a fixer upper. I was delighted to find discrete components inside, just transistors, resistors, capacitors, and transformers throughout. The prospect of this made me seriously excited (it doesn’t take much) about taking this project on.
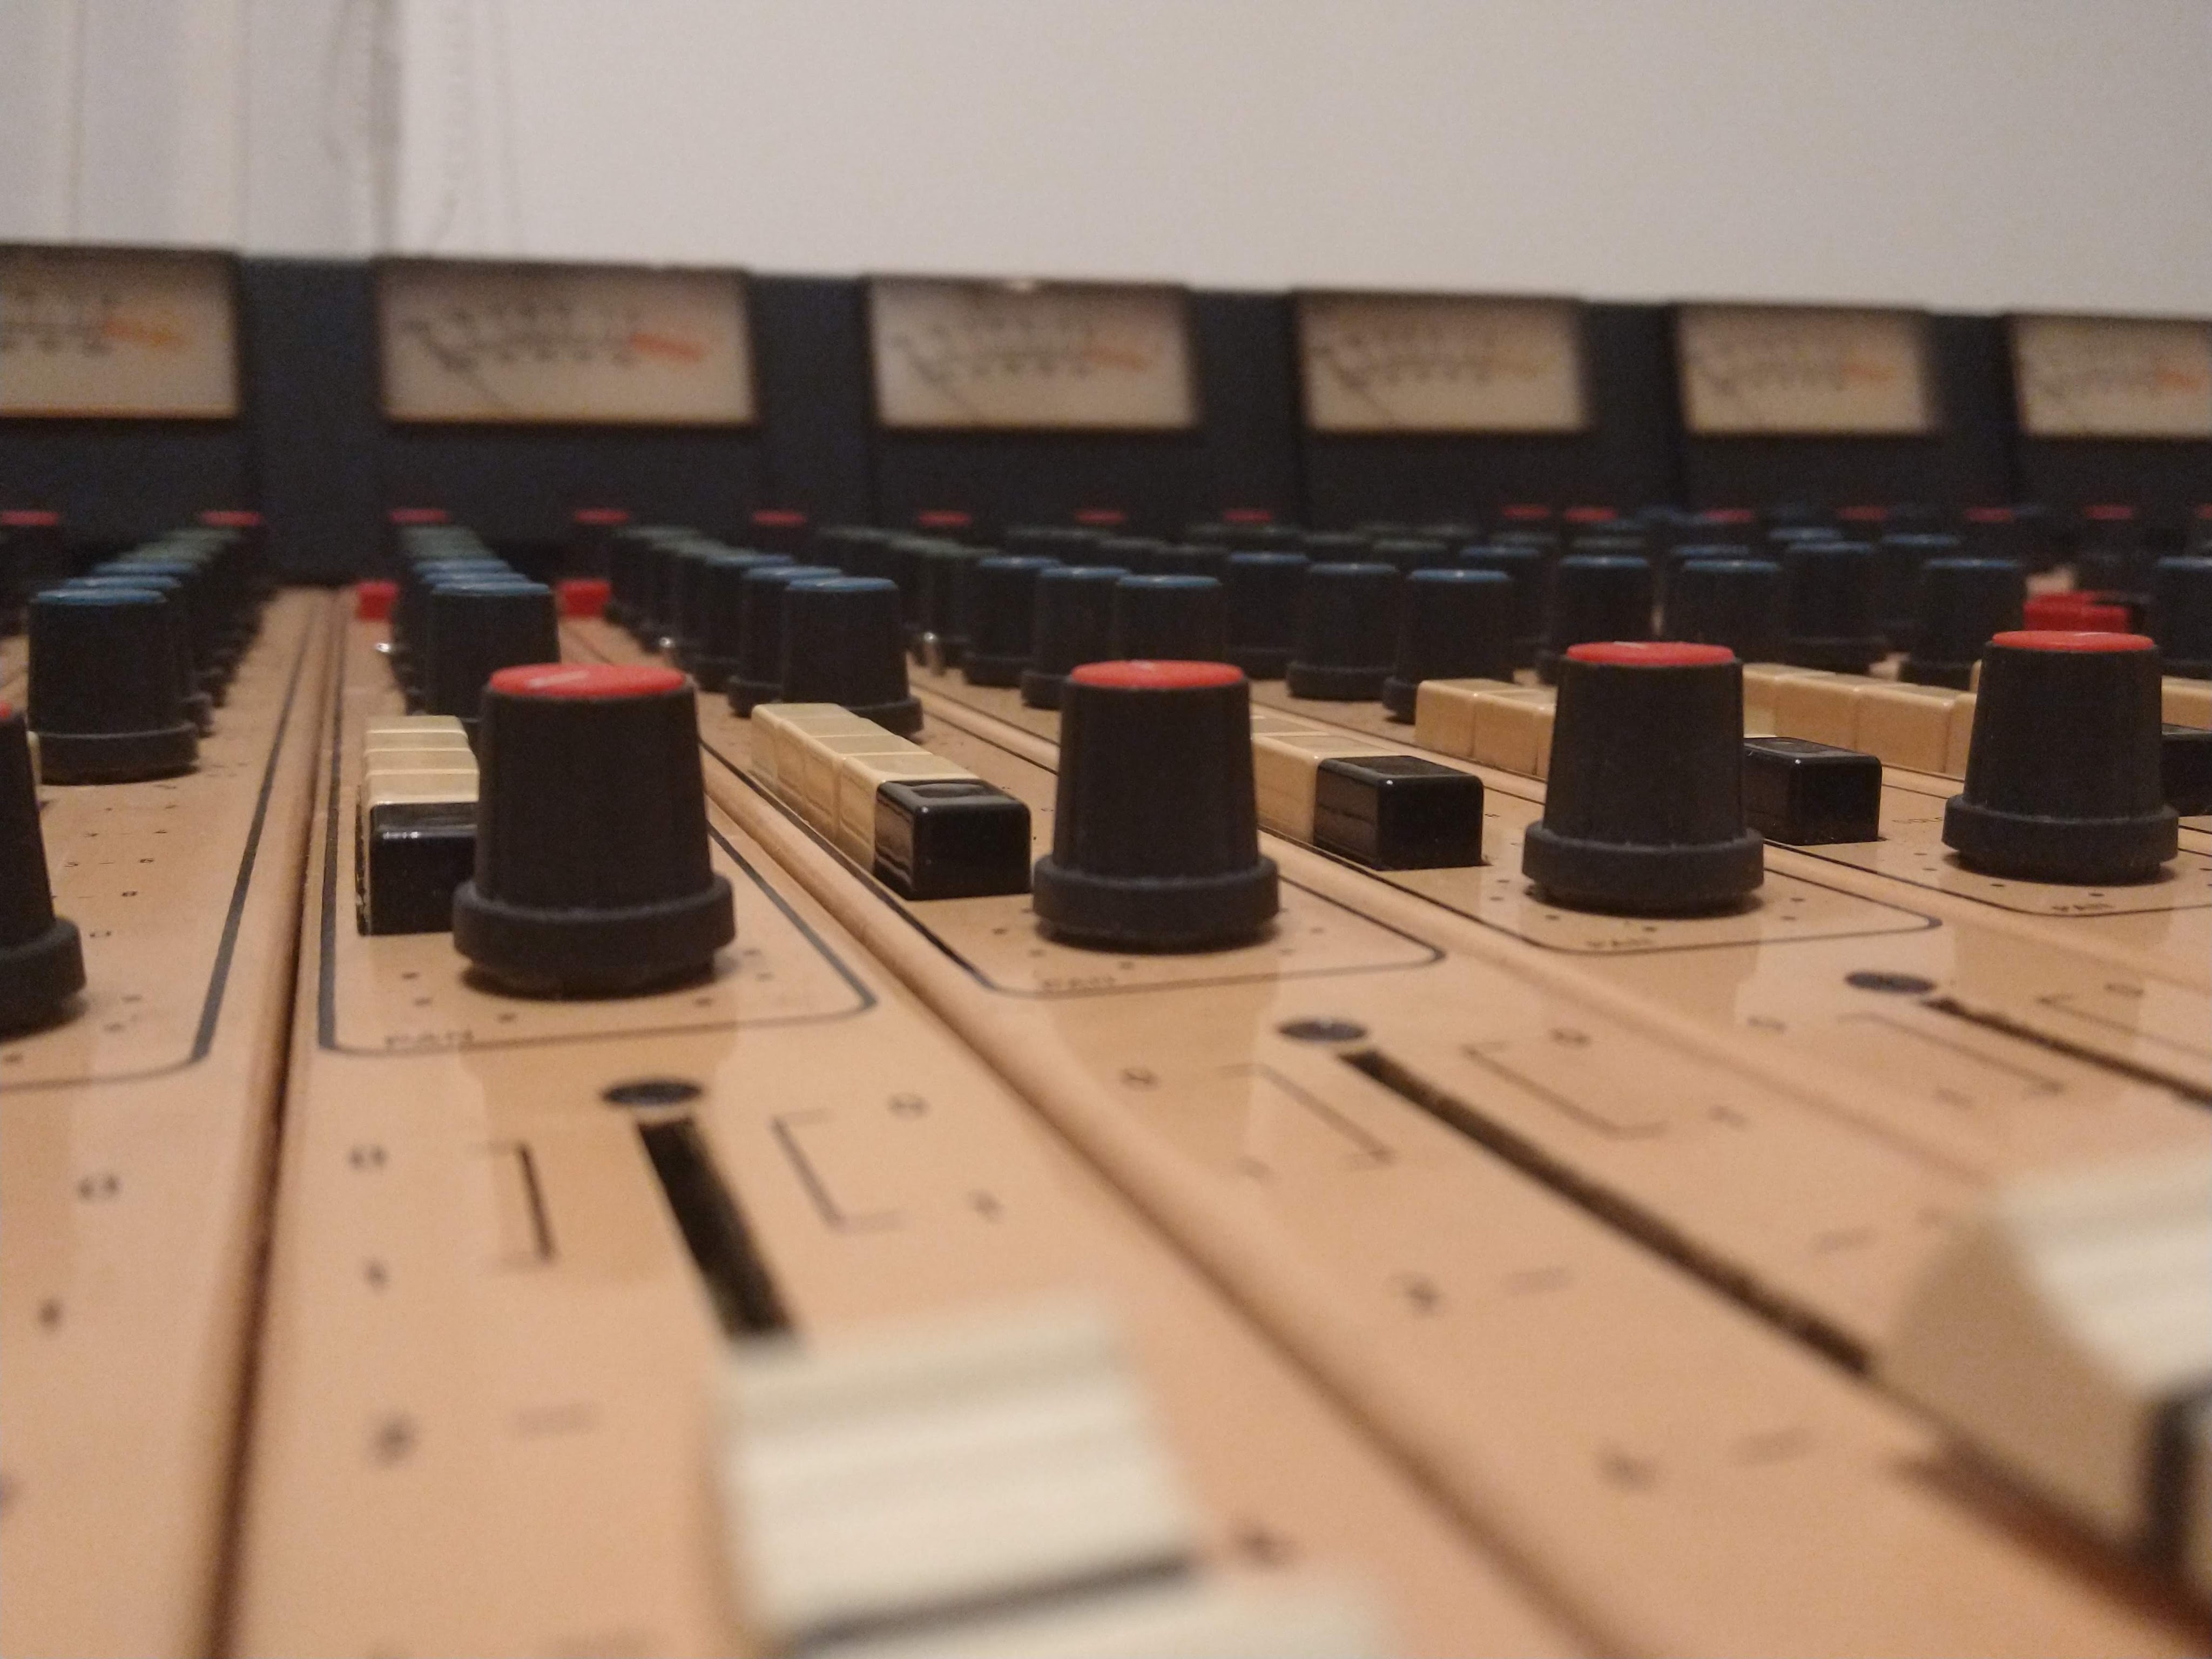
I digested all the materials I could, transistor datasheets, schematics, internet forums, and DIY groups. I found out that the EQ has a blind spot between 120 hz and 1.8 khz, faders are penny and giles branded etc. I even found out that this mixer was the first ever design to have the EQ and Aux pots mounted directly on to the circuit board.
Being a fan of Allen & Heath gear after using their DJ mixers extensively on the club scene back in the day, I thought that this vintage piece would be worth a punt.
Now, this MOD series mixer is not particularly sought after in comparison to say Neve and Studer gear, however, what appealed to me is that I could modify and customise this mixer to exactly my own specifications. That is to say I can rip out the guts of the mixer and start again if I really wanted to. Being as each channel was modular, I could chop and change the bits of the circuit I wanted to, and this gave me scope for getting down to some serious audio research if I wanted. Being transistor based really appealed to me above all else.
I love the sound of 70s transistor circuits in amplifiers, even the old silicon transistor types have a lovely sound to them, far better than the rubbish around today. My favourite are early 70s germanium transistors though, they impart a warmth on to the sound unsurpassed by even those nice silicon types. I thought about modifying a couple of the microphone preamps for tracking with these, the possibilities could be endless I thought.
I also thought about extending the EQ range a little bit to try and get rid of the blind spot, maybe even throwing in a couple of germanium transitors. The sky is the limit I thought, so who knows what wonders and horrors I may encounter on the way during my experimentations.
Road Trip To Wales
After travelling some serious miles in to Wales to pick her up, I arrived at a recording studio at a church in the middle of nowhere, in rural Camarthenshire. The engineer there, Owain, removed the cover and revealed the mod 3 in all its splendour. I fell in love with it straight away. The awful (I warmed to it eventually) colour of the paint, the retro Allen and Heath branding, the old fashioned VU meters, it really looked like a washed up throwback. Glorious!
Owain helped me load it in to the car, we were quite wary about social distancing as this was right at the beginning of the pandemic. I realised that I would have to do up the mixer to sell it. This thing was huge, too big for my studio. My work had dried up completely, everyone was too careful hunkering down to come out and get repairs done. This was a very difficult time and it was a case of do something proactive to try and make some profit.
Upon getting home I further inspected her and it seemed apparent that the side cheeks had been changed.
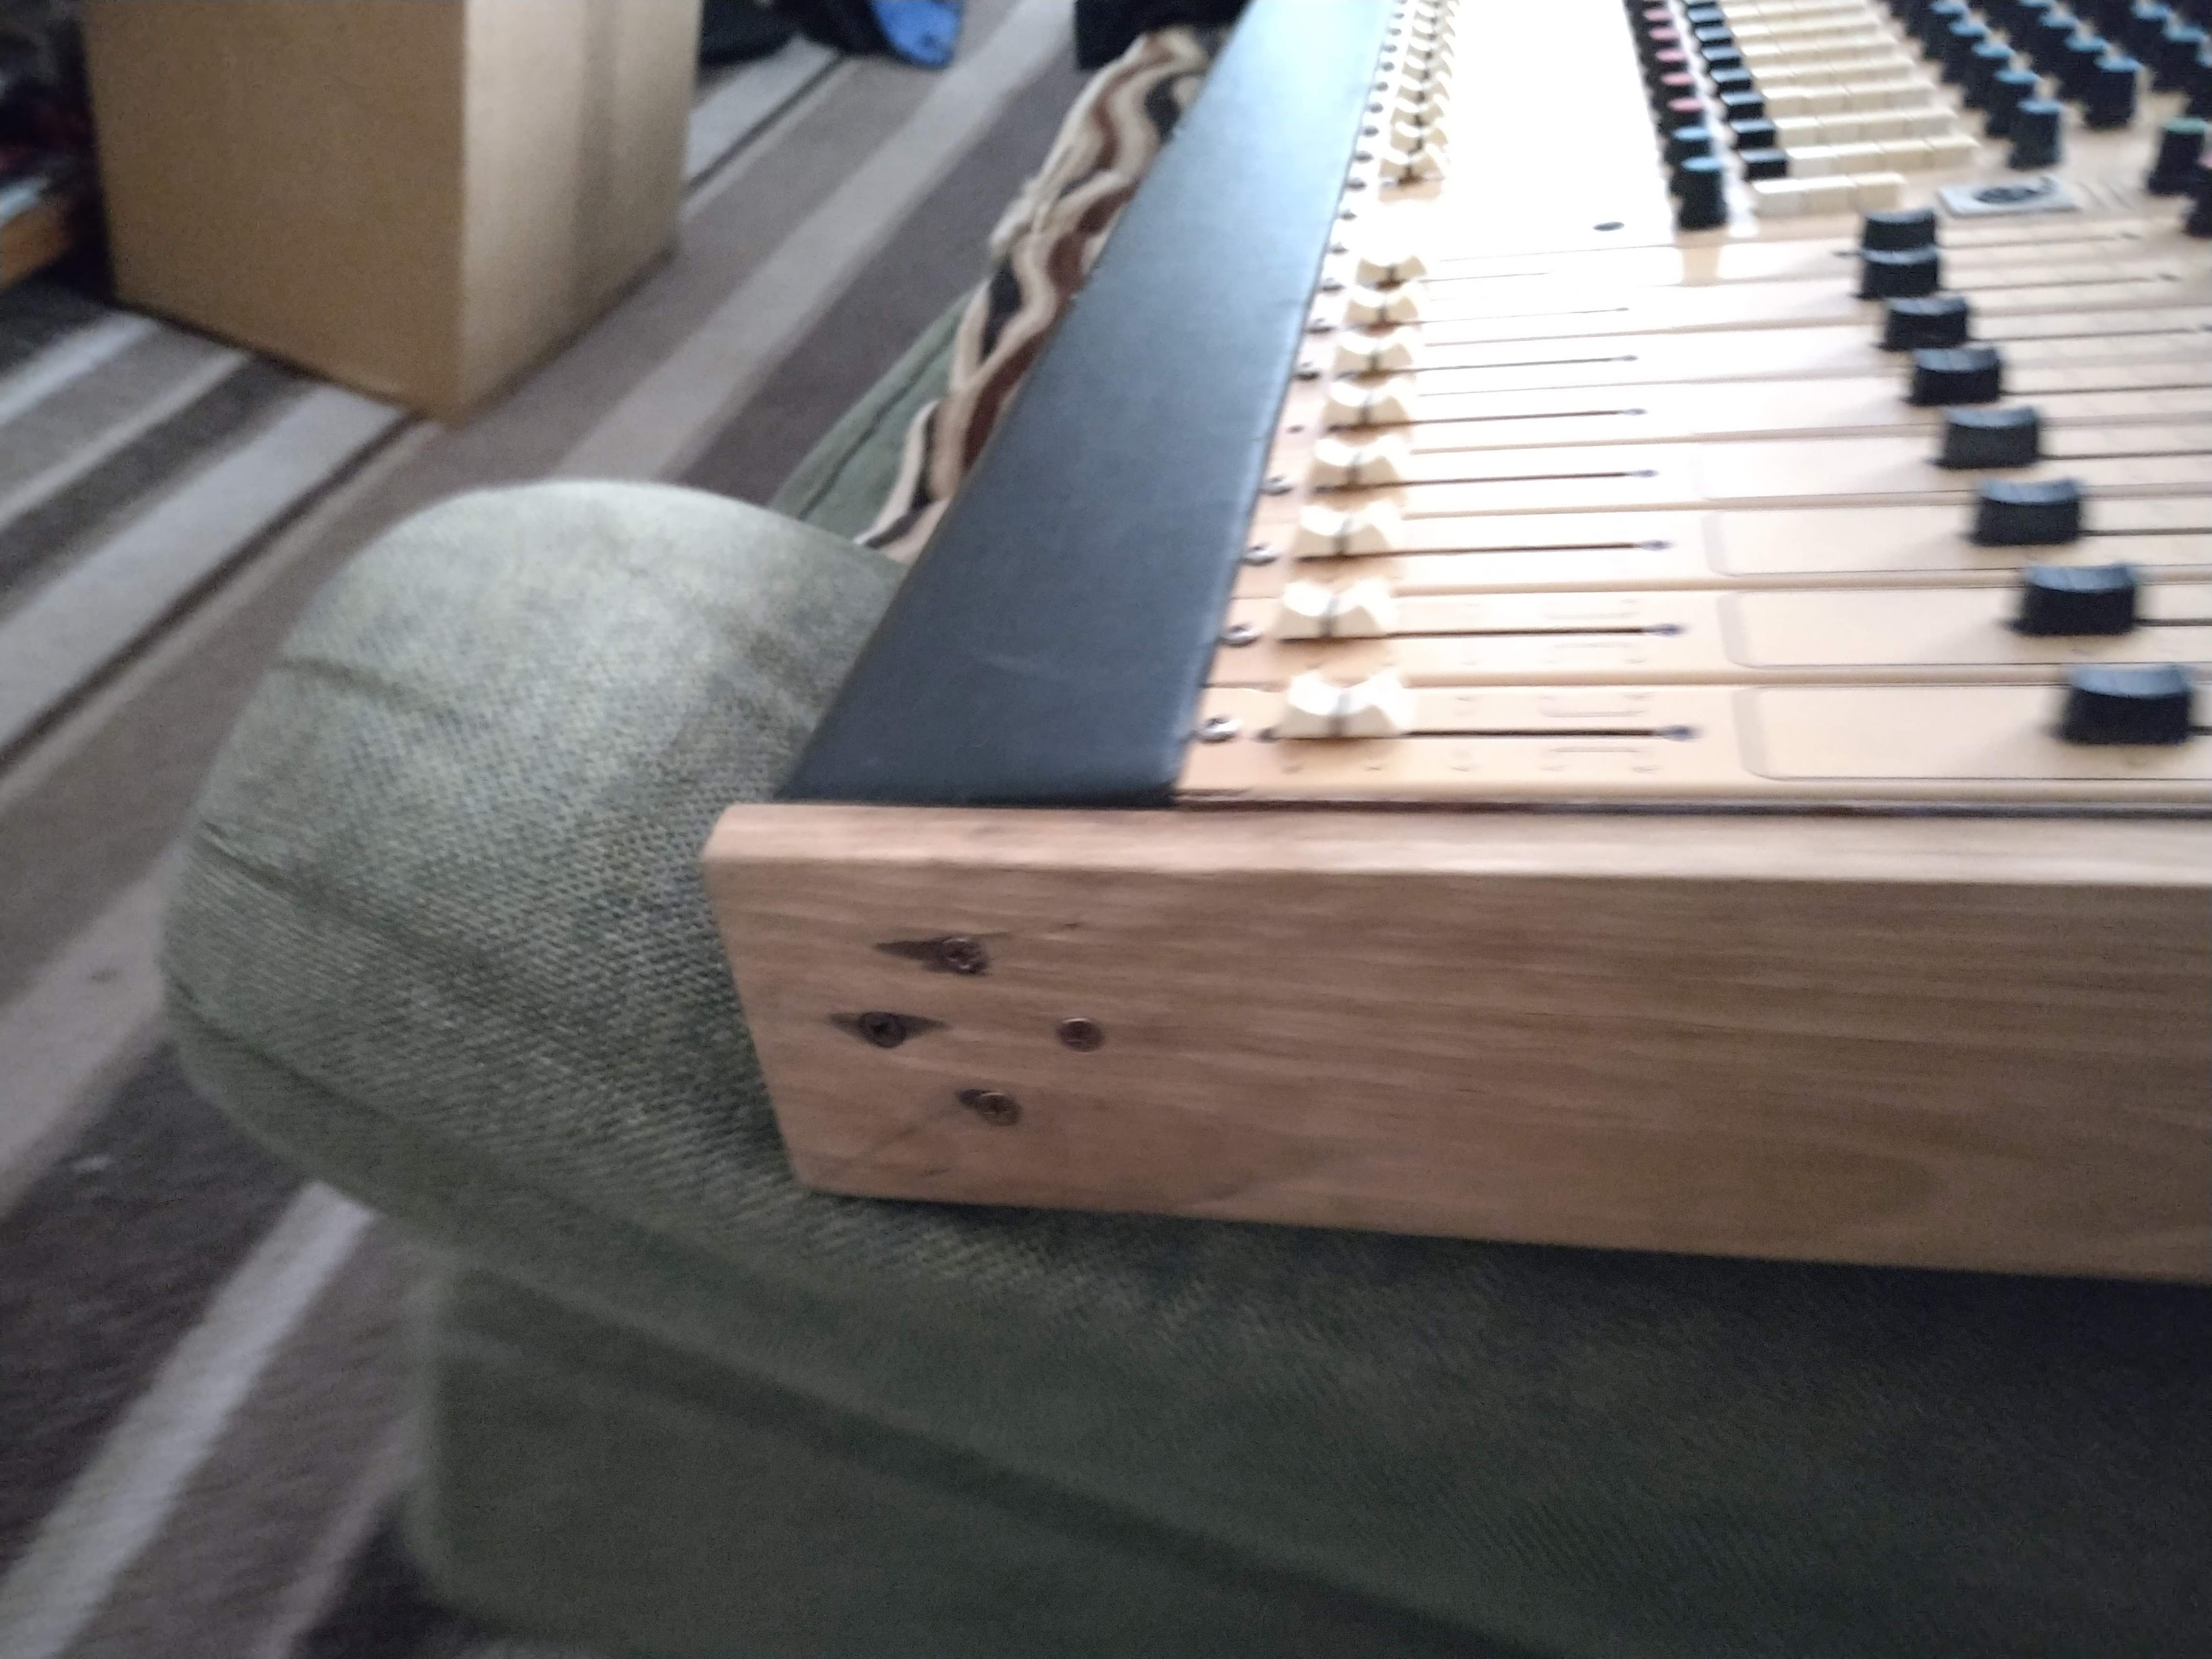
I also noticed that there were various sockets missing in the monitor section and it would need some work. Had the previous person who overhauled it made their own mods? I knew Owain hadn’t modified it as he told me he was not inclined to fix electronics.
The kids were surprised to see it and wondered what on earth it was. They remarked that it looked complicated and I told them it was the control console used for the moon landings. They looked in amazement for a moment, then proceeded to carry on watching some inane nonsense on you tube.
Thankfully, credit to Allen and heath, they had all the Mod III schematics up on their website in the legacy section. This had all the diagrams I needed but there was a fair amount of detective work involved in working out what was what. There are 5 basic transistor amplifier and buffer circuits used throughout the board, and these appeared in various places in the schematic. It was a case of looking at the interconnects on the block diagrams and looking up the relevant transistor circuit. In this sense it was fairly well documented.
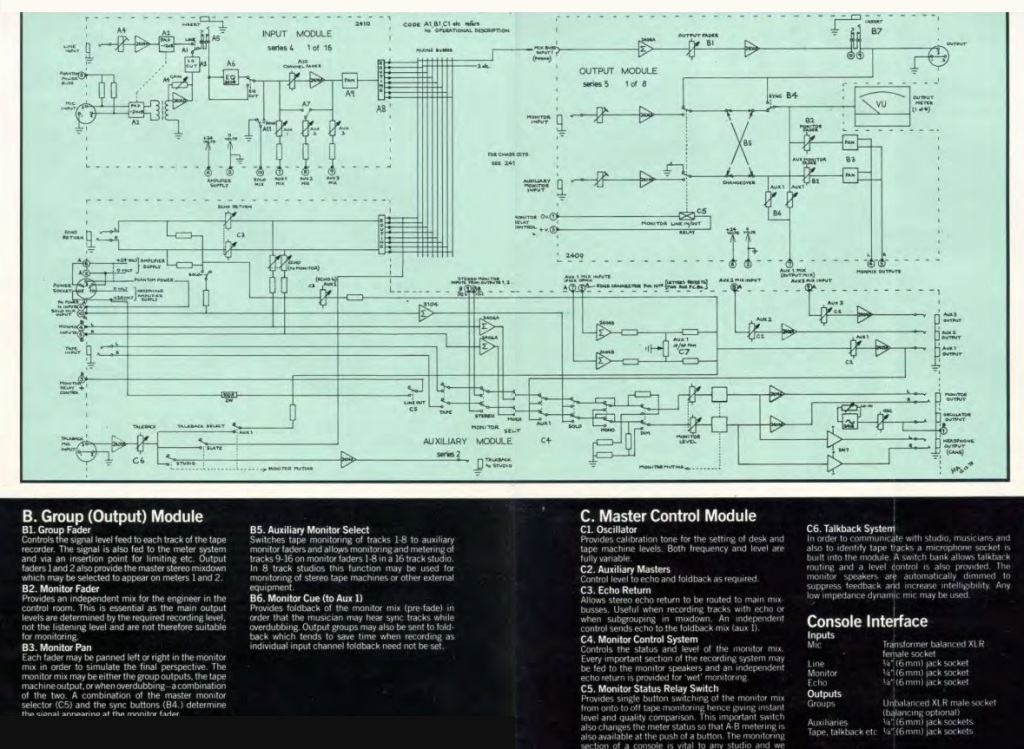
The master section was not documented so well. There was a picture of a block diagram of the whole board in the brochure and that’s all there was to go off. One could see this would pose a problem down the line, however, it was not insurmountable.
The final schematic in the list was the power supply, before I turned on the mixer I decided to inspect this part of the console first. This mixing desk repair was going to be a long journey but at this stage, I wasn’t quite aware of how much work it would actually involve…
